
I’ve recently become interested in the idea of getting creative with the development methods for my black and white film photography. Sometimes film can become very limiting for the shooter, especially in low light.
My current black and white film preference is Tri-X. This being said I’ve only shot Tri-X and Iflord HP-5 (which I despise). I purchased a few rolls of T-Max, but haven’t exactly loaded any in the burner as of yet. Before I jump to another emulsion. I’ve decided to stick with Tri-X and see what happens when I push it…and then I want to see what happens when I pull it.
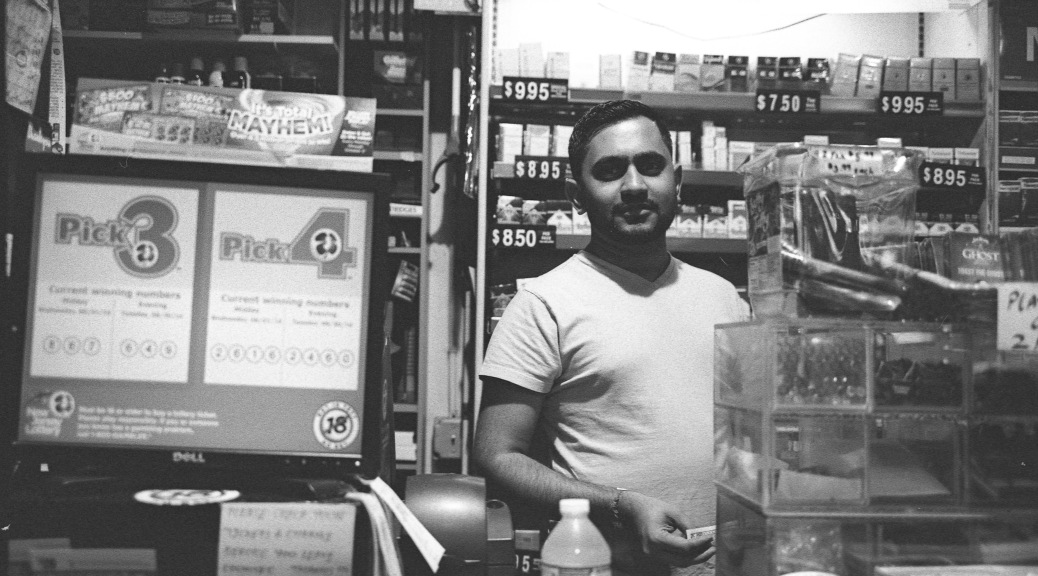
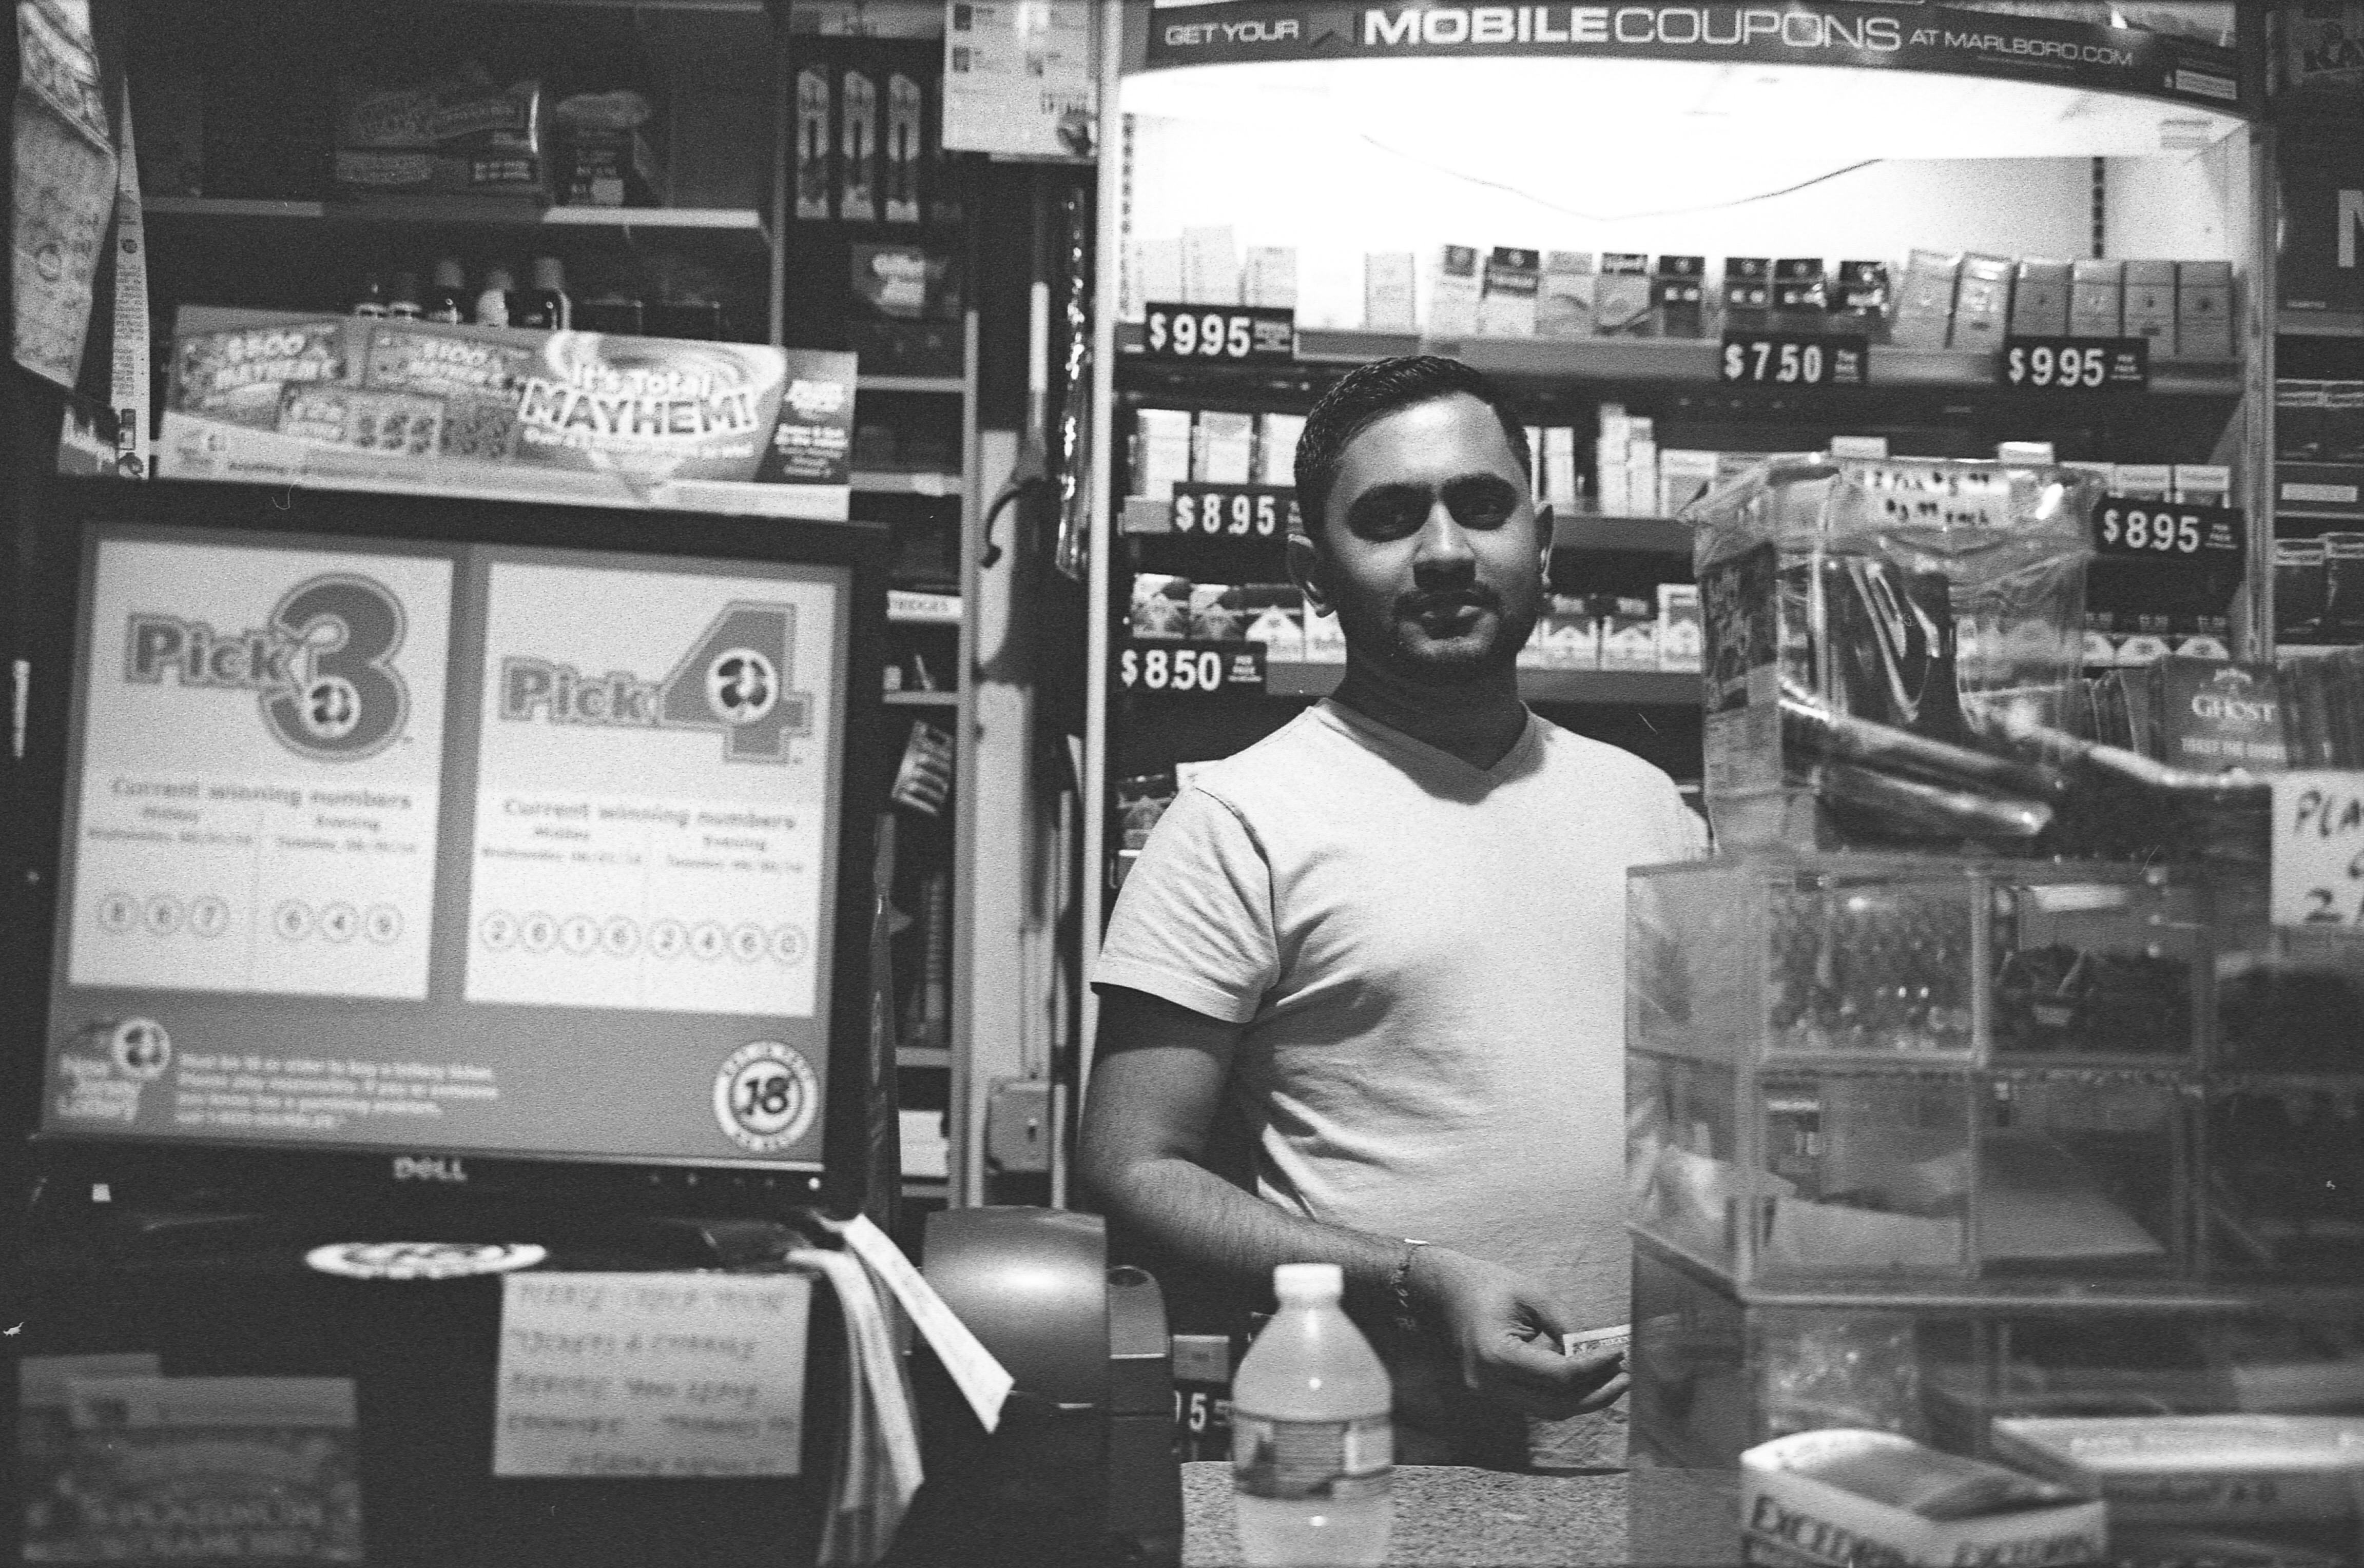
For those of you unfamiliar with the terms pushing and pulling, this refers to how long you let the emulsion hang out in the developer. For every black and white film speed there is a default time that the film should reside within developer to obtain the “standard exposure” at a given speed (ISO). For instance, I shoot Tri-X 400. The directions for development of this film in conjunction with Ilfolsol developer recommend that I leave this emulsion in the developer for about 4-5 minutes to achieve expected results. In terms of pushing, I can shoot to expose my film at 800 instead of 400 and leave my film in the developer for a longer time to obtain an exposure. Now, this being said, the “look” of the emulsion being pushed produces a bit of character that would otherwise not be seen at normal exposure/development. I’ve never done this before so shooting this roll was quite exciting. It also allowed me to get into darker areas that ISO 400 would have never survived (that extra stop huh?!).

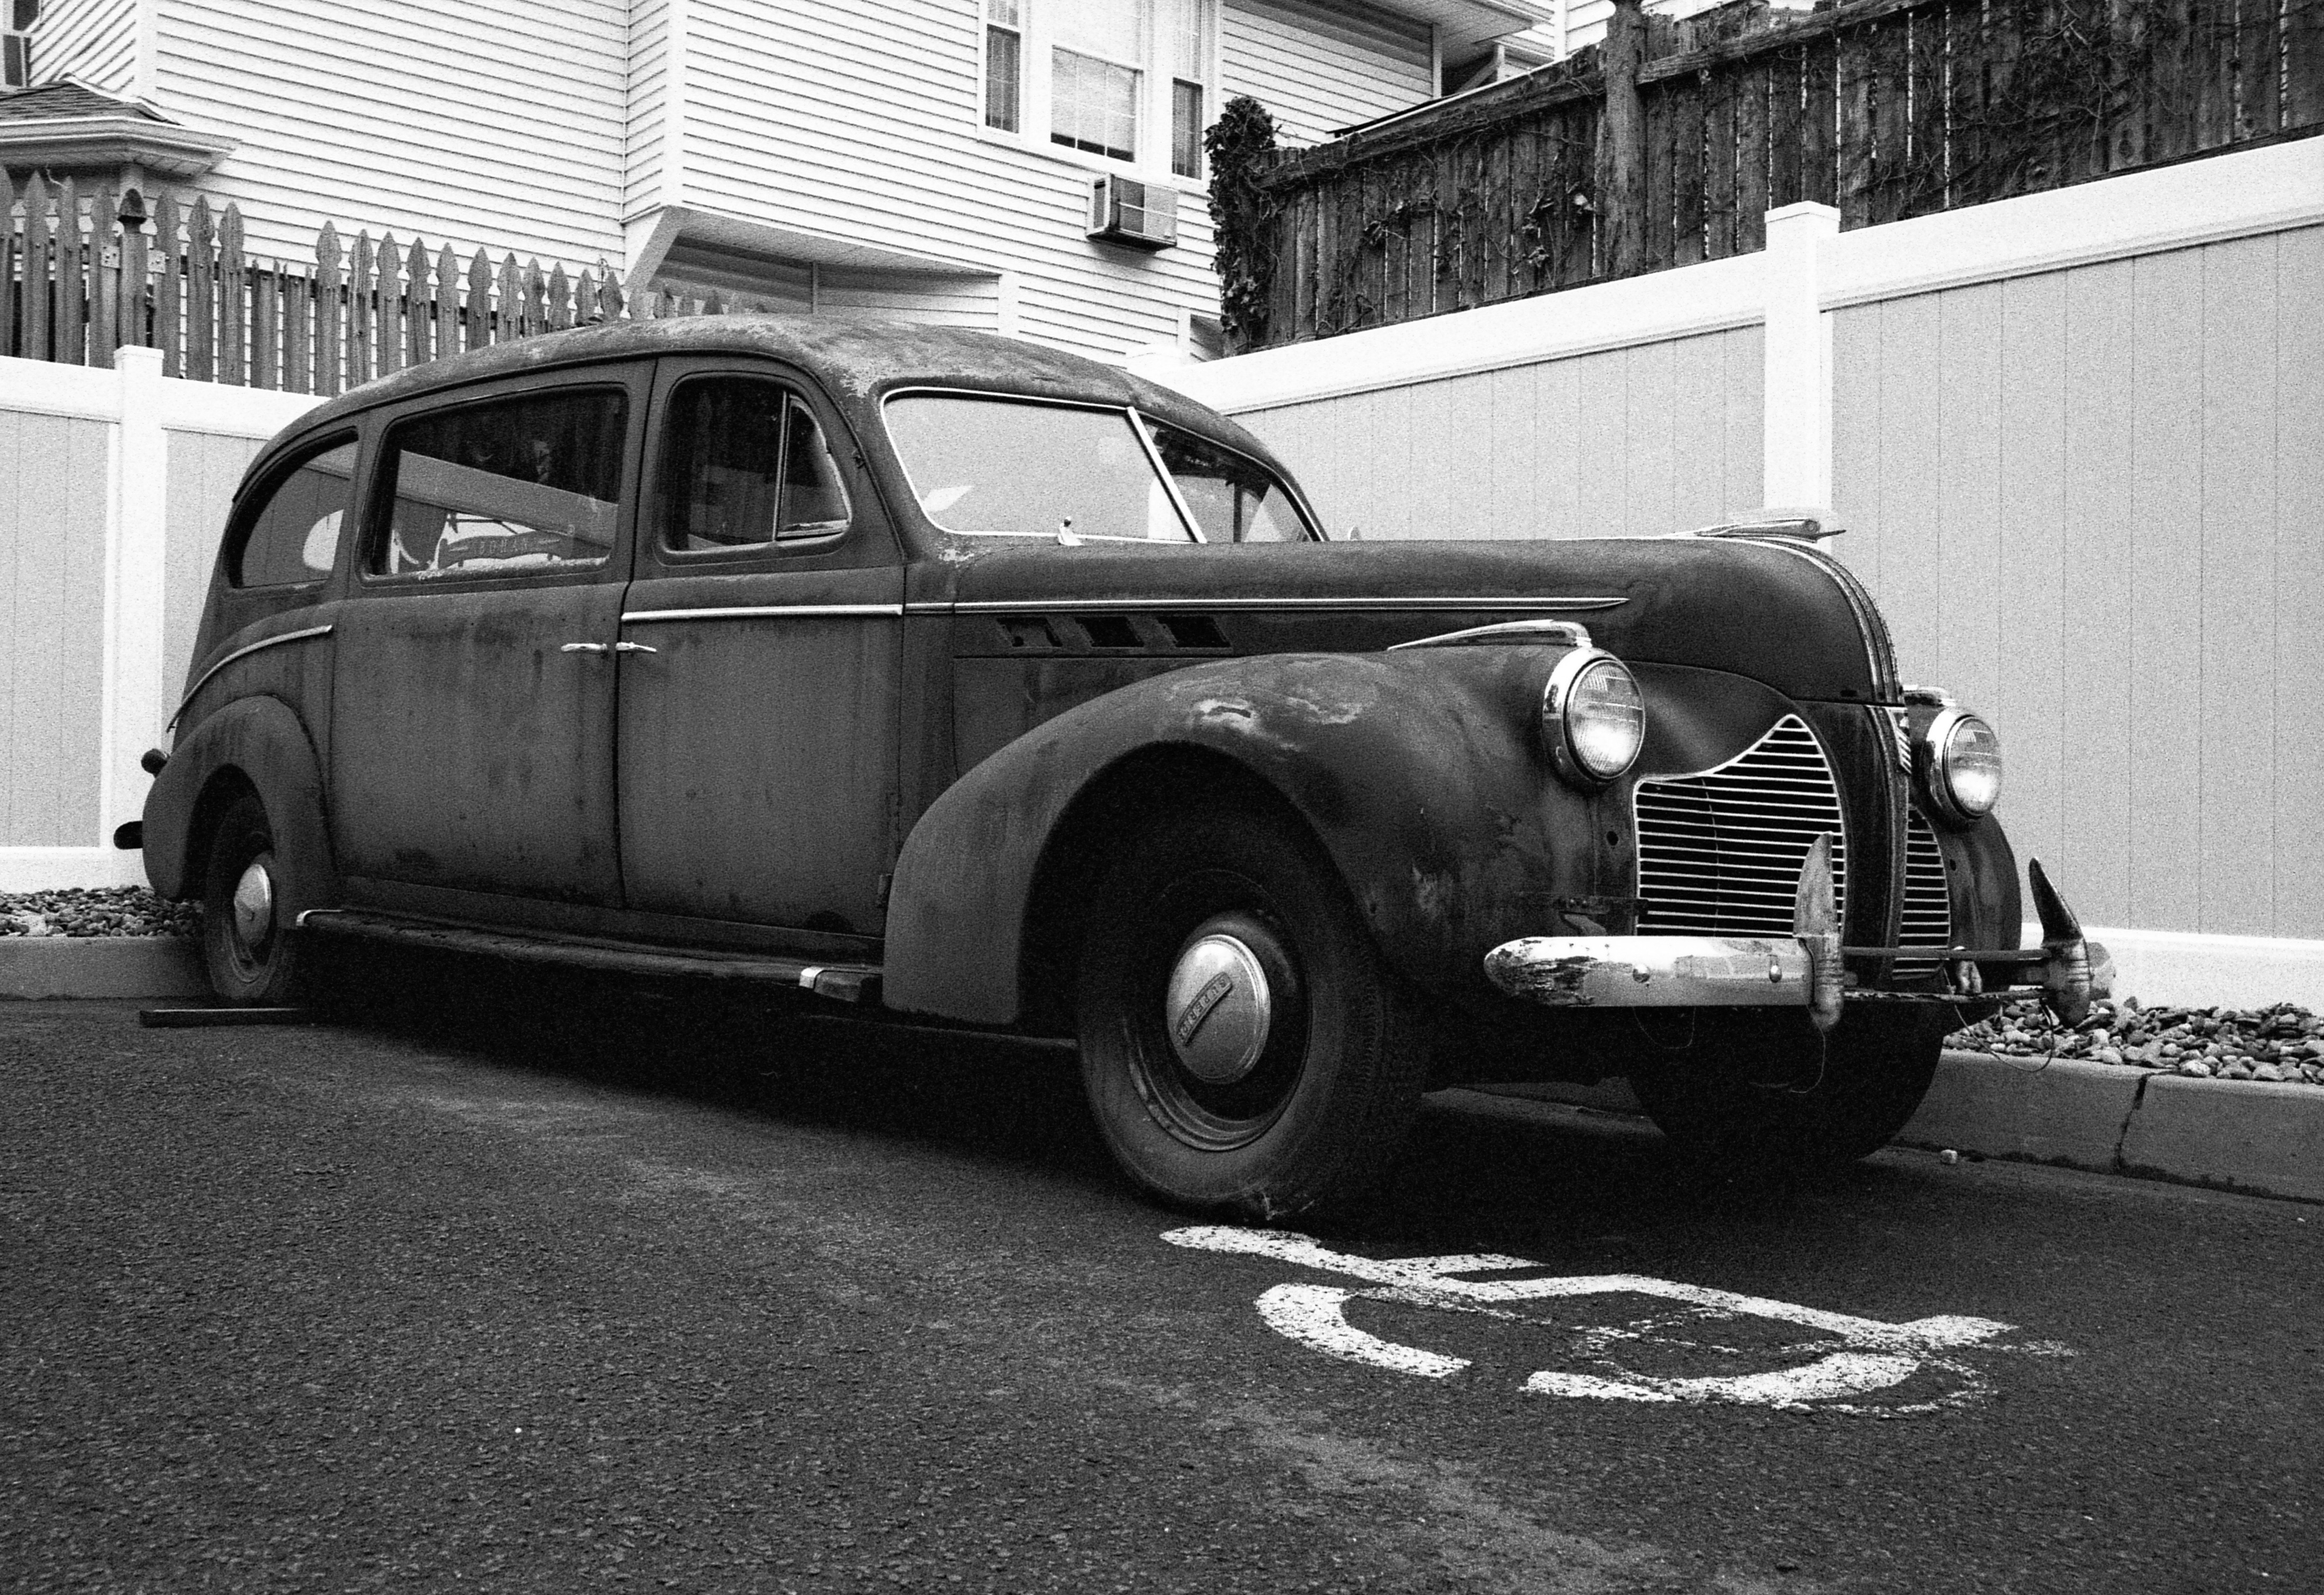
I hit the streets with the burner. ISO on the camera set to 800 like a boss (even though I was using Tri-x 400). I was out there being vigilant capturing moments and characters as usual. What was interesting to me going back to black and white on this roll was how geared to color I had become after shooting Portra. It’s interesting because when you’ve got color film in the camera all of a sudden your street photo senses are geared to composing with a focus of color. With black and white the shadows and the lighting become a bit more relevant. Sure colors do effect the shades of your black and white emulsions, but shadows and highlights run the throne and since I was pushing the film I felt it was even more important to focus on them.
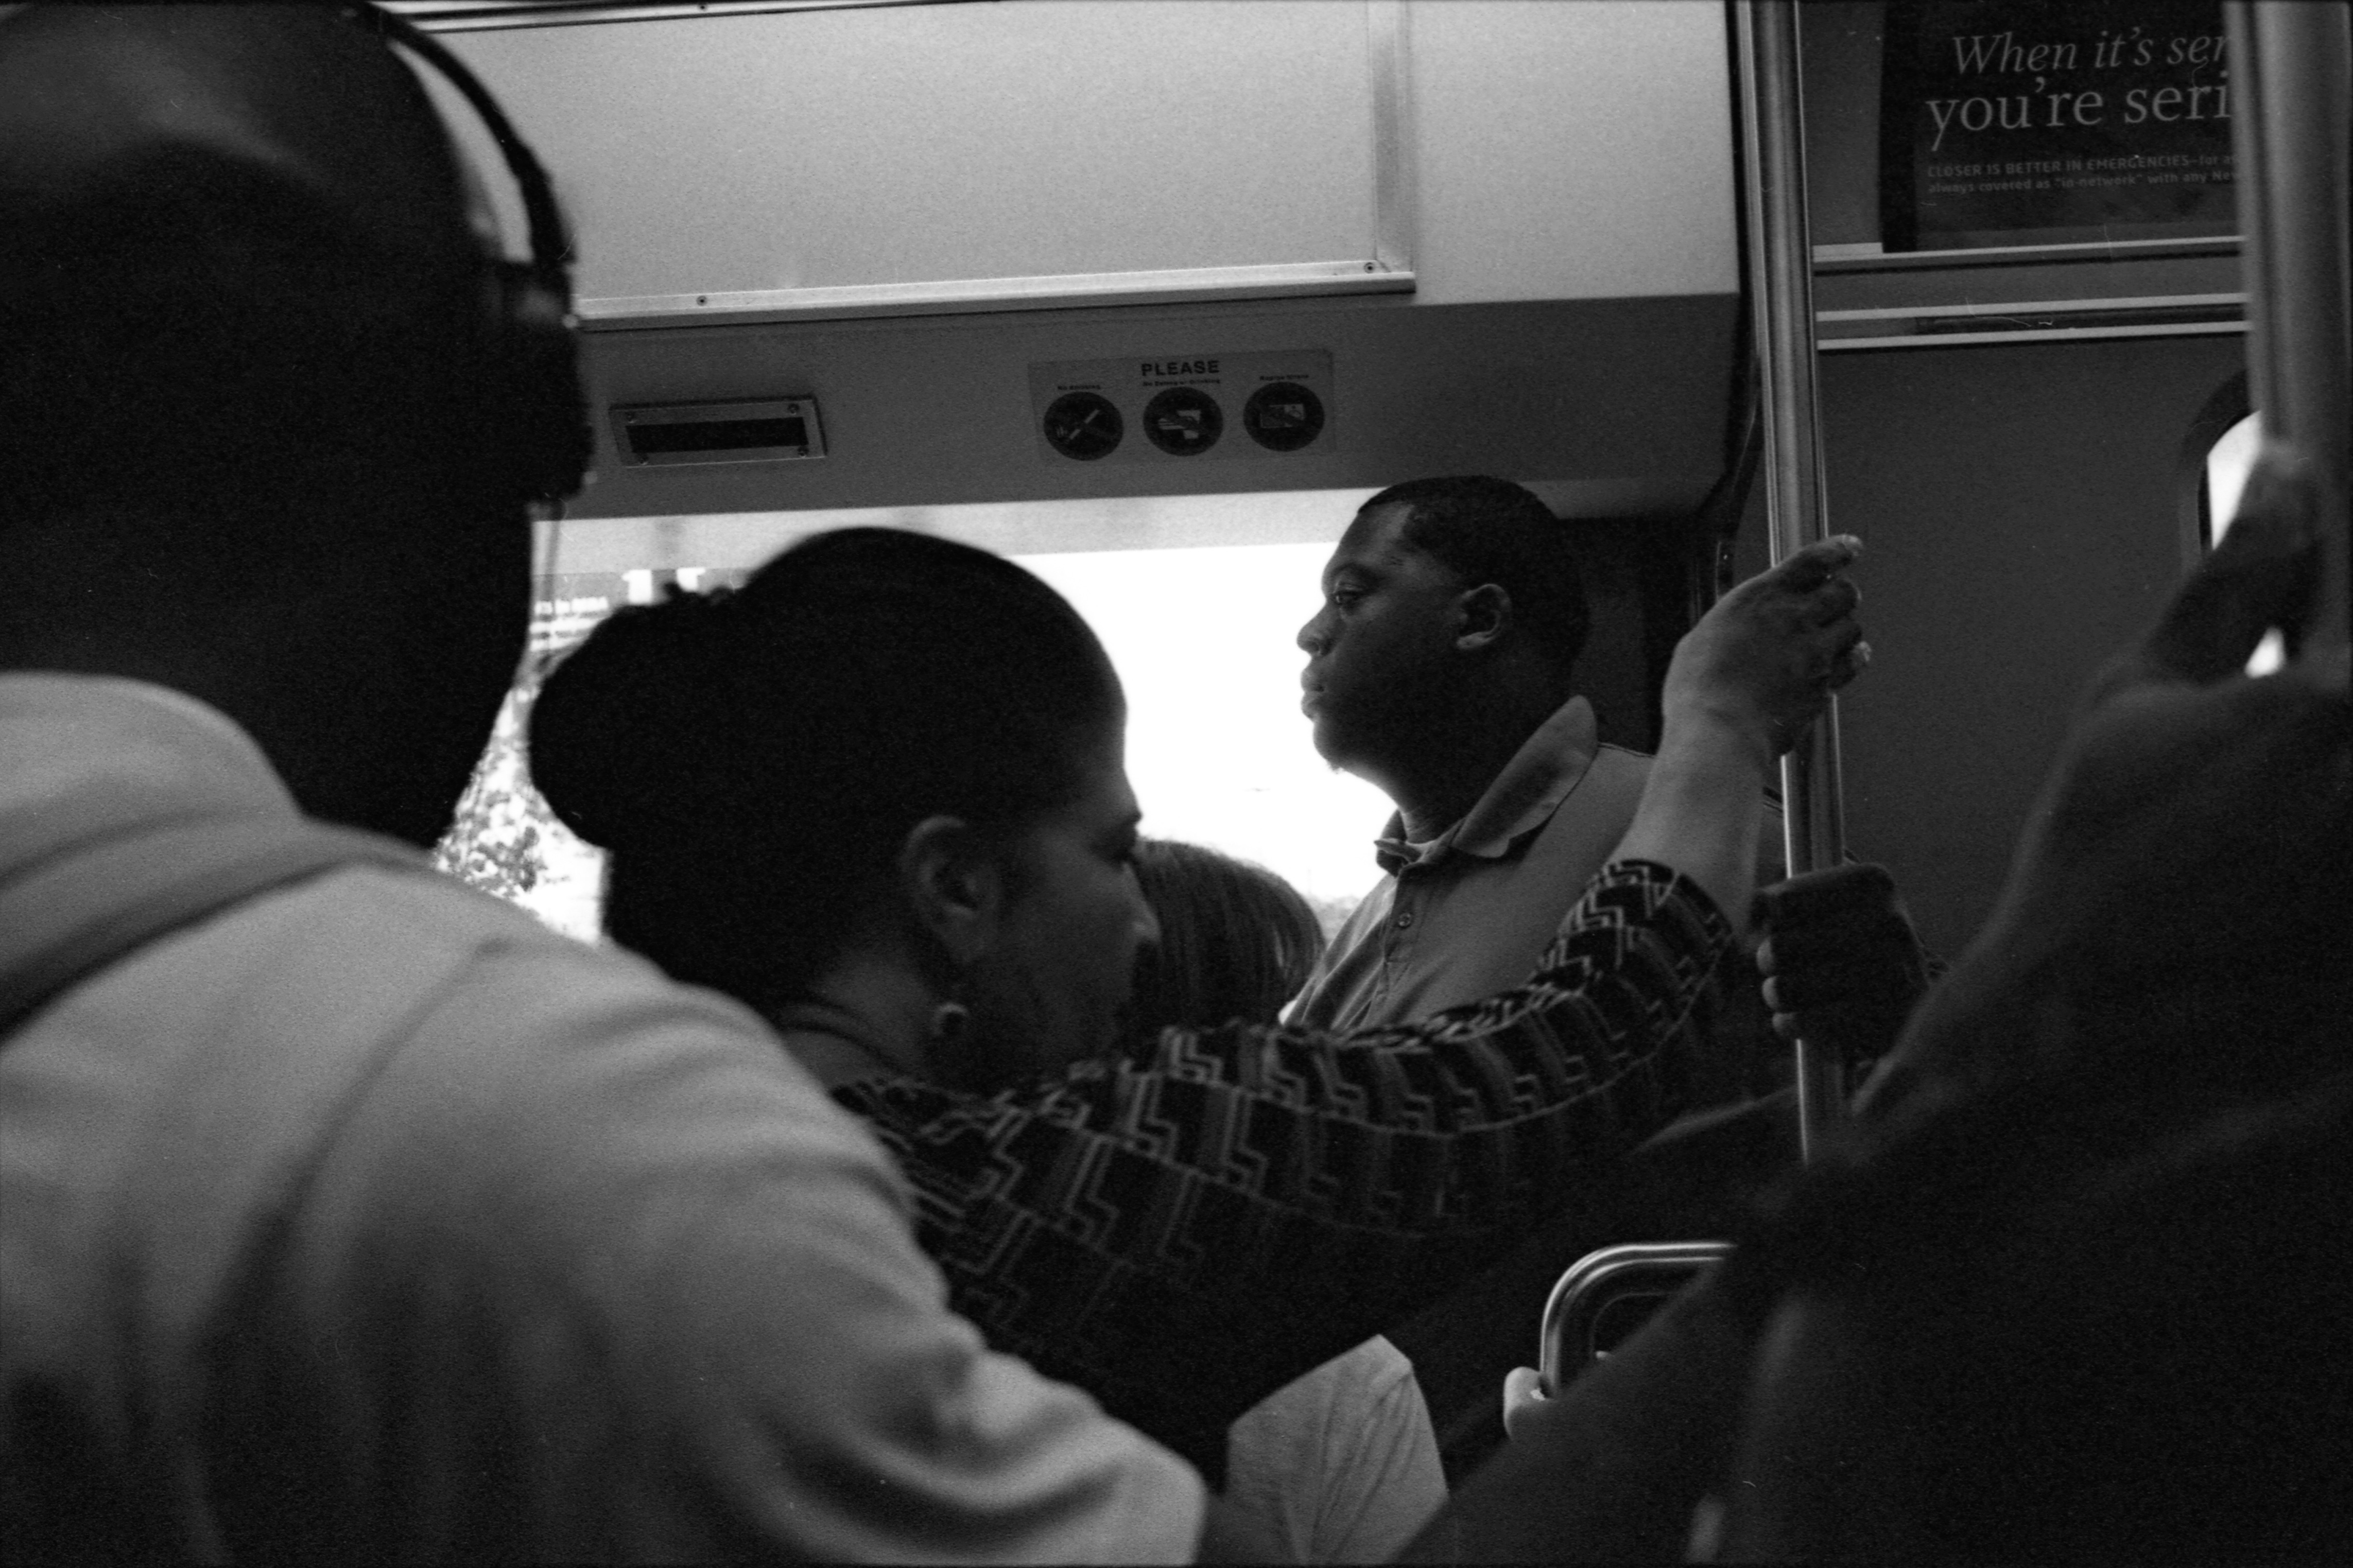
It took me a few days to shoot out the roll. I’ve recently made the return to mass transit commuting going into work. This gave me some opportunity to explore a little and get shots out before and after work. It can certainly be intimidating photographing strangers without their permission. I’ve been doing it for a while now, but the light rail is a tight space. Pulling shots off here was slightly more intimate than I was used to and my results show it. From this roll, there weren’t at many keepers as I’d anticipated. I felt that this had a lot to do with two things:
1. I was shooting this primarily outside of my comfort zone was a bit nervous being so close to strangers who, for the most part, were running late to work or rushing home after work.
2. I was taking shots using the camera in lower light scenarios than I would have normally. Granted, it was only a stop of light difference, I wasnt sure how the pushed effect would impact my negatives.

I kept thinking to myself, is this underexposed? Is it going to come out too dark? Is it going to introduce too much grain? Every shot I took had a preceding extended moment of contemplation before I fired that was filled with some combination of these thoughts. As it turns out, a lot of the moments fled while I dwelled in that cyclone of possibilities. Yet another lesson that as a street photographer (or any photographer working to capture a moment), you must be vigilant to nail the shot. If you’re not sure about your settings them slam the shutter a few times and make changes in between, but don’t let technical impasse’s force you to miss “the shot”. Once it’s gone, it’s gone. This is also another reason it’s important to know your camera. Learn your camera, learn your film, and learn your development procedures. This way the technical elements of your craft become consistent and periphery to your creative visions.
Development
The moment of truth. Every film photographers highest moment of anticipation. We spend, at minimum, a few hours getting shots nailed to 36 frames on a roll. Once exposed, we protect those film canisters as if they were our children. Being someone who develops film at home, there’s a bit of an eerie ritualistic experience involved with bringing film to life. I’m not exactly sure if my interest in the occult studies contribute to this, but it does feel, in a strange way, highly therapeutic and scientific. This could also just be the chemical compositions mixing up to create some euphoric bliss in the air of my apartment…who knows? What I do know is that I enjoy it and my development results at home have been far more superior then local film lab processing. I believe that quality control will be at its highest when you are handling your own work. Want something done right (or in a particular way)? Do it yourself! Lazy ass…
Ok, into the procedures… I’ve developed Tri-X multiple times in the past. I have put together a tried and true formula to develop this film with Ifosol 3 at its marked speed (ISO 400), but I’ve never pushed it.
My process for Tri-X 400 (using Ifosol 3 Diluted 1+9):
1. Developer for 5.5 -6 minutes agitating every minute.
2. Stop Bath for 30 seconds with agitation.
3. Fixer for 4 minutes agitating every other minute.
4. Rinse for 5 minutes.
5. Wetting agent for 30 seconds at rest.
6. Dry.
Pushing the film changed this formula up just smidge. Being that we underexposed when we shot the film, in development we need to compensate for that detail. We do this by increasing the development time. This allows the developer to do its same magic, but at a longer interval. The result is the developer reaching in the emulsion to grab out more detail. From an image perspective, this increases the contrast of the film and introduces some more grain.
The process to push Tri-X to 800 is to extend the development time from 5.5 minutes to 10.5 minutes. Everything else from the procedure remains the same.
How do I feel about the results? Well, its mixed bag. Some of the shots look amazing, and some of them have a bit too much graininess for my liking. I do like the high contrast element that gets emphasized in the images and I do really like the ability to shoot film with the advantage of having an extra stop of light (shooting at ISO 800), but I’m afraid the high acutance part of me will prefer the sharpness and clarity of images shot at lower ISOs. I’m glad to have experimented with this, as I’m sure I will encounter moments when a roll at 800 is more appropriate than a roll at 400, this gives me a piece of mind that I will be able to produce photos in lower light conditions if need be. This experiment also throws another tool in the photographers arsenal, because if I ever want this look, I know now how to get it and how to work with it from an expressionist stand point. Hell, I might even attempt to push to ISO 1600 just to see the output (when I do I will report back my results). For now, my next roll loaded in the burner is Ektar 100. I’ve got to finish up the C-41 chemicals before the developer starts to break down on me! I plan on doing some pushing with that emulsion as well so stay tuned for updates!
To check out more examples from this roll, head to @frankjrentas on Instagram. I will be posting examples in the days to come. They will be denoted with hashtag “#trix800”. WordPress has media space limits…
-Frank

Great Post! I cant wait to hear your experience with Ektar. Its one of my favs.
LikeLiked by 1 person